Tutorial - Herringbone
- kandis25
- Aug 10
- 2 min read
I just wrapped up this fun and fast Herringbone quilt for a client, and it came together in under a week! It’s a perfect project for beginners or anyone looking for a quick finish. In this post, I’ll walk you through my process step-by-step so you can follow along with ease.
Dimensions
Completed Size: 80 x 88
10 Columns and 11 Rows
Cutting Instructions:
Lets first cut strips from your fabric yardage.
12.5inch Strips from White background fabric
Subcut 28 12.5inch squares
12.5inch Strips from Solids fabric
Subcut 28 12.5inch squares
Sewing Instructions:
There are three parts to the plus sign, which we're going to consider a 'row'
Take one 12.5inch white square and a 12.5inch solids square, put them right sides together
Sew along the outside edge, all four sides
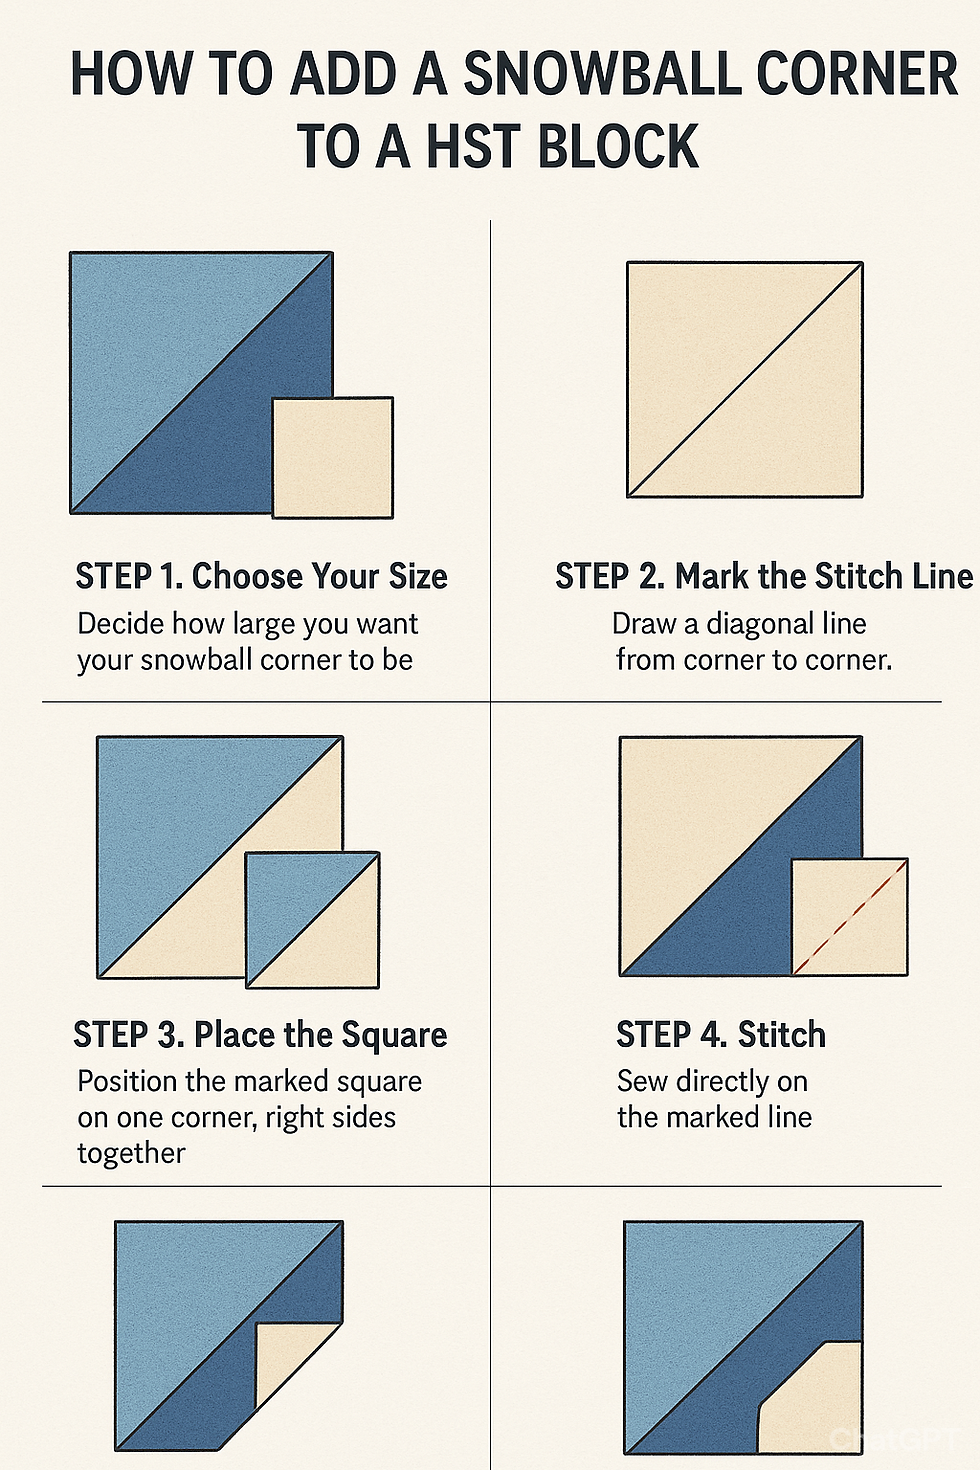
Cut the square diagonally across, like an 'X' - You will now have 4 HST

Iron to the dark fabric
Trim to an 8inch square
Tip: use a square ruler with a 45 degree line. This will be helpful to make sure your diagonal line ends is centered and aligns to corner point.
Repeat for all your 12.5 inch squares
You should end up with 112 HST
Note: you will only use 110 HST so you will have two extra
Start laying out your blocks in the Herringbone pattern
Triple check often the blocks are lining up correctly. I cant tell you how many times I had to fix a few of my layouts.
Sew your blocks together. I did two rows at a time and sewed columns as I went.
Thats it, all there is left to do is quilt and bind
Please share photos of the quilt top you made!


Comments